The Automated, No-Code Data Stack
Learn how Astera Data Stack can simplify and streamline your enterprise’s data management.

Top EDIConnect Features: EDI Source Files and Parsing
Businesses across the globe send and receive messages via Electronic Data Interchange (EDI). Last week we covered our Centerprise connector, EDIConnect’s, Custom Repository feature. Our focus this week is on two features for EDIConnect: EDI Source Files and Parsing.
Once an EDI file has been received, validated, and once the acknowledge process is complete, it goes to a dataflow to be parsed and translated. After that, the EDI file can be transformed, mapped, and written to the destination.
EDI Source File
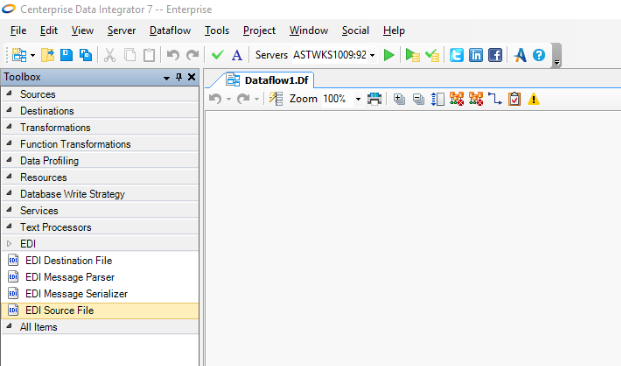
This reads the incoming EDI messages. First, create a new Dataflow by selecting File > New > Dataflow. Once a new dataflow opens up, drag and drop the EDI Source File option from the toolbox on the left to the dataflow.
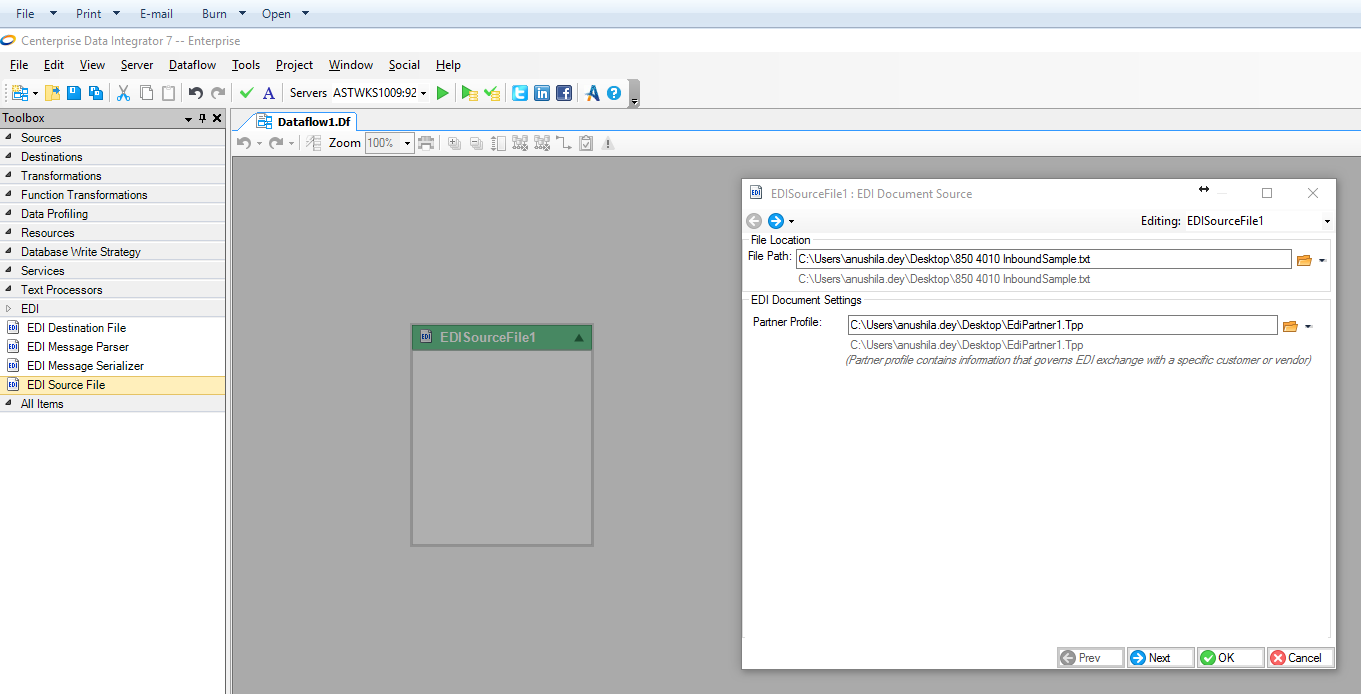
Now, specify the EDI file location information and Trade Partner Profile settings. These contain all information about processing incoming data using EDI Source file properties.
To preview EDI source file data, right-click on the EDI Source File box in the dataflow and select Preview Output.
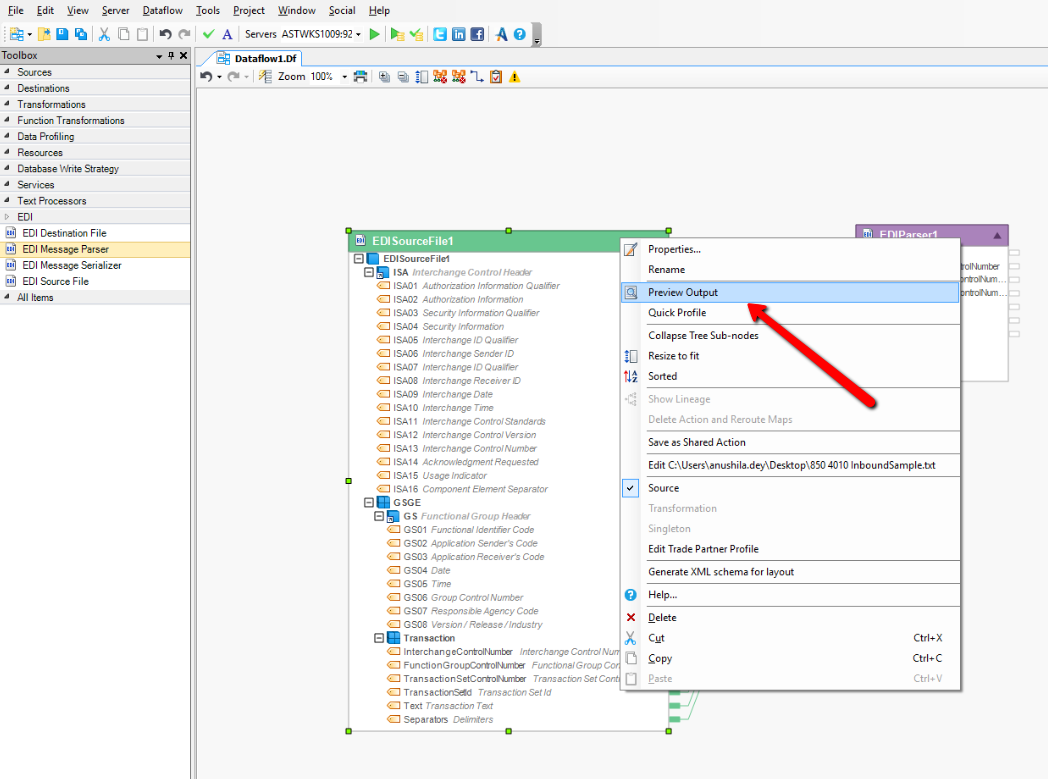
The output is in hierarchical format as seen below.

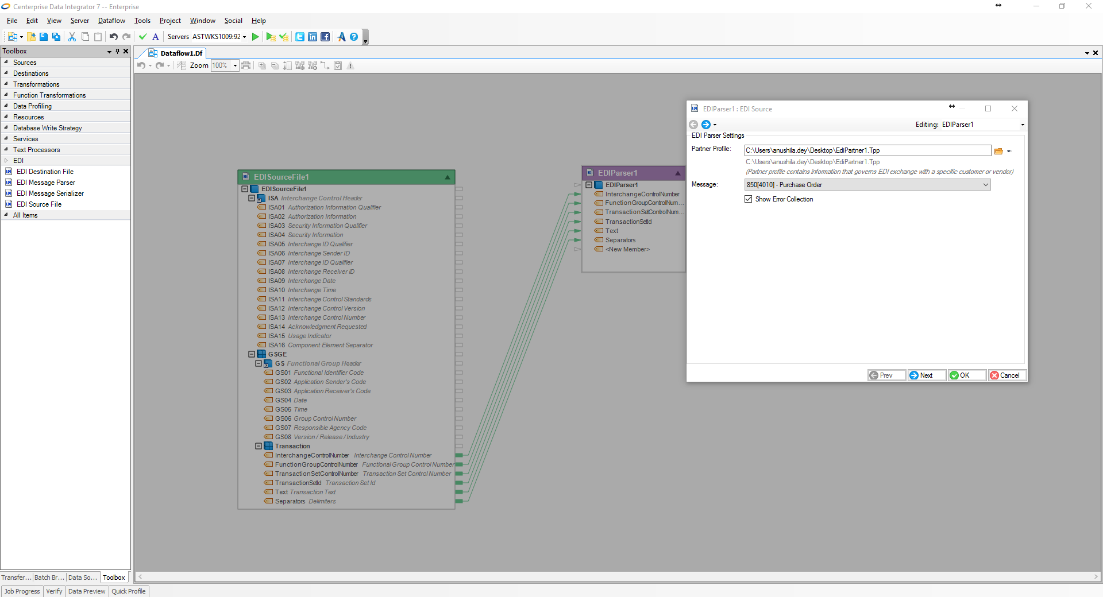
EDI Parser
This generates the transaction structure that can be mapped to any destination. The EDI File Parser also includes the Trade Partner Profile file: all information required to parse a transaction is in one place. From here, users can specify all transaction sets expected from a partner.
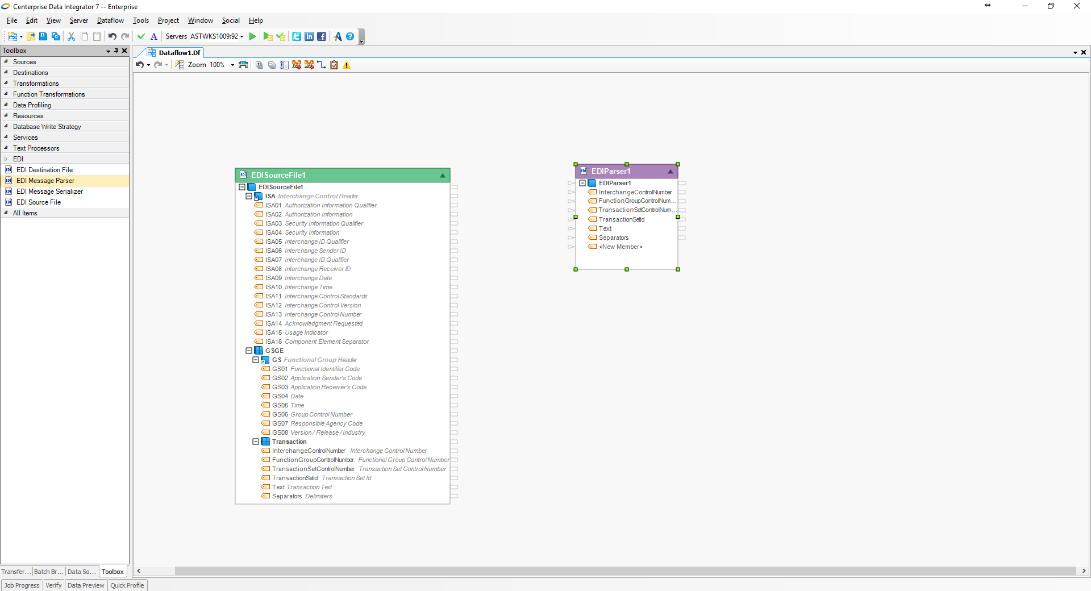
The EDI Parser can be dragged and dropped into the dataflow using the Toolbox on the left. To set its properties, right-click on it and select Properties. The screenshots below demonstrate the EDI File Parser process.
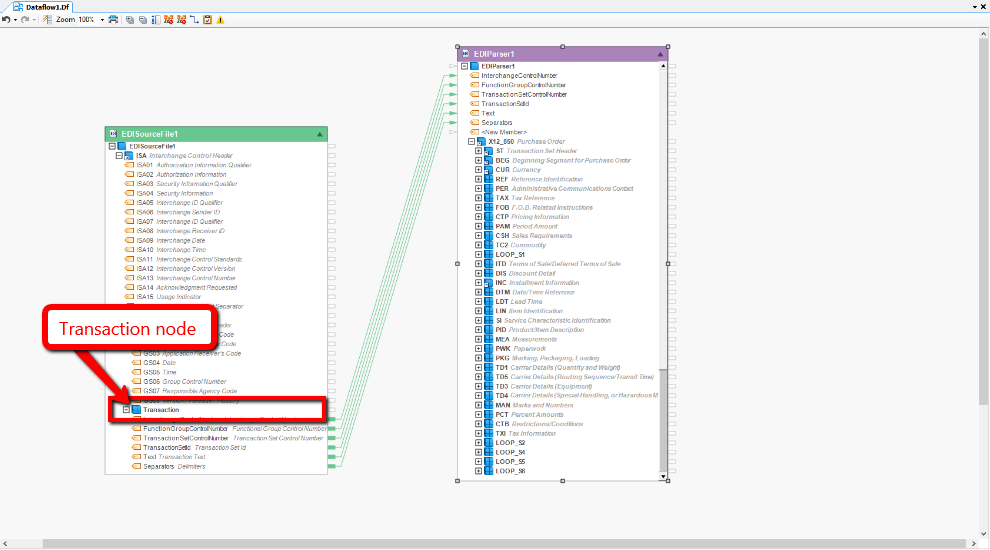
Mapping
To map the EDI Parser to the EDI Source file, drag the Transaction Node of the EDI Source file onto the EDI Parser file.
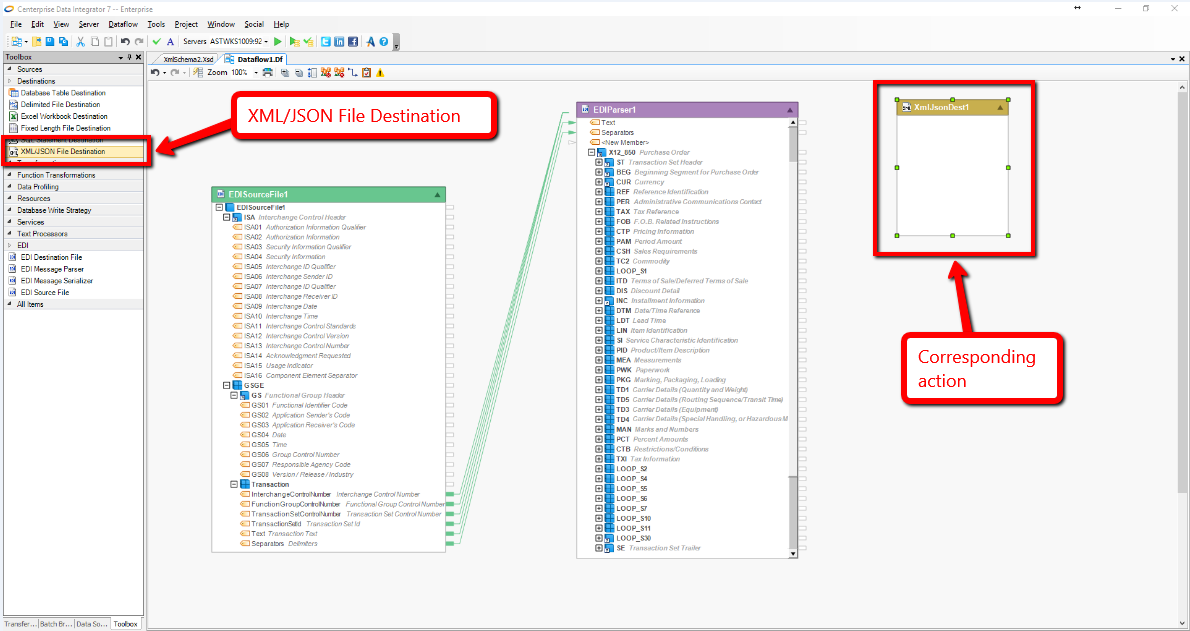
Destination file
Once the EDI message has been parsed, it’s ready to be mapped to a destination file, such as an XML file as shown in the example below. Drag and drop the XML/JSON File Destination option from the Toolbox on the left under the Destinations category to the dataflow.
Make sure you specify the output file location and provide an XML Schema file that matches the EDI Parser transaction structure to the XML Destination File Properties.
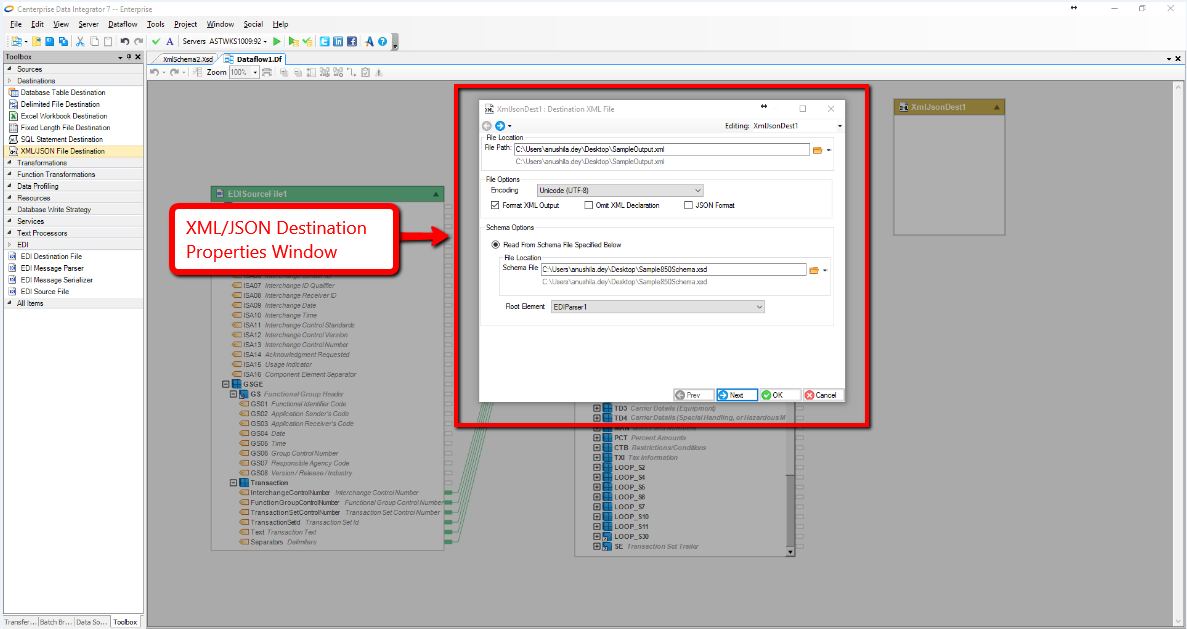
Now, map your EDI Parser to your XML Destination File. Your output file is ready to view.
Want to know more about EDIConnect? We’ve been covering our top four EDIConnect features over the past several weeks. Be sure to check back for the final installment in this series!